
Designing beautiful emails in gmail is how you can truly take your communications with your colleagues, customers, or prospects to the next level.
Although there are certain templates you can use with Gmail to make your emails stand out, many of them aren’t particularly aesthetically pleasing, tasteful, or stylish. Many of the templates are relatively basic.
But who wants basic when you can use an eye-popping email template?
In this post, you can discover how to make pretty emails in gmail.
Sign up for an email template builder
The first step you need to take is to sign up for an email template builder that is compatible with Gmail. There are many out there including BEE Free, and Unlayer. However, one of the easiest to use free solutions is Stripo.
Stripo is one of the most popular email template design software due to its massive library of beautifully created email templates and amazingly customizable email design editor.
In this tutorial we will go going over how to use Stripo to build your gmail email template. However, no matter what email template builder you decide to get started with, the process for importing the email template into gmail will be roughly the same as outlined in this post.
To get started with Stripo, go to stripo.com, choose a plan, and sign up for an account by providing your email address.
Choose an email template
From there, once you arrive at the main dashboard, you will have the opportunity to create your first email by clicking “+ Create Your First Email Message”. From here you can choose a template to get started with.
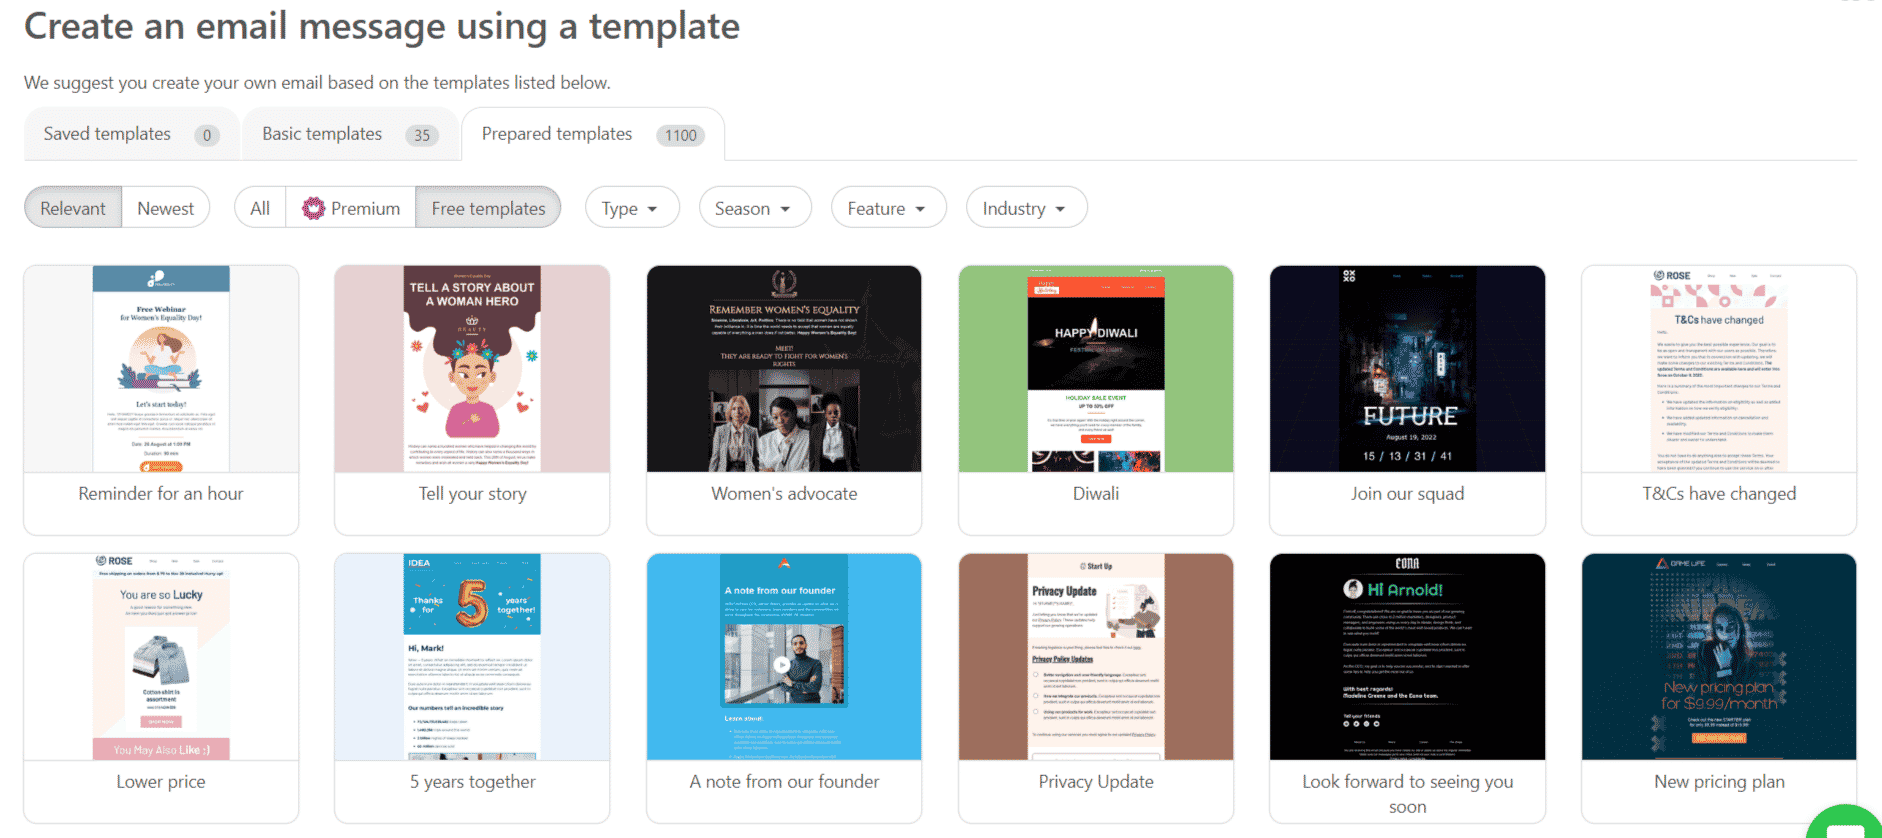
There is a collection of basic templates that you can choose from, or you can pick one of the prepared templates. Basic templates are exactly what you would expect: relatively simple designs with images and text that can be easily swapped out. Prepared templates on the other hand are professionally designed email templates that are a bit more stylish than the basic ones.
For this example we will be moving forward with this “Organic food” template.
Design Your Email
Once you select your template you can edit the template as much as you see fit. For some this is just a matter of inserting some text, changing the header and company logo and swapping out some images. For others, this might mean adding or removing blocks or sections to alter the entire design of the email.
No matter what you would like to do with the email template, its important to understand how to navigate and use Stripo and other email template design software that has a similar setup.
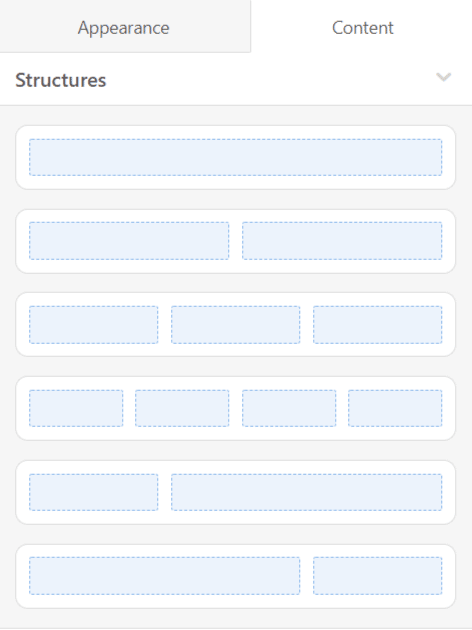
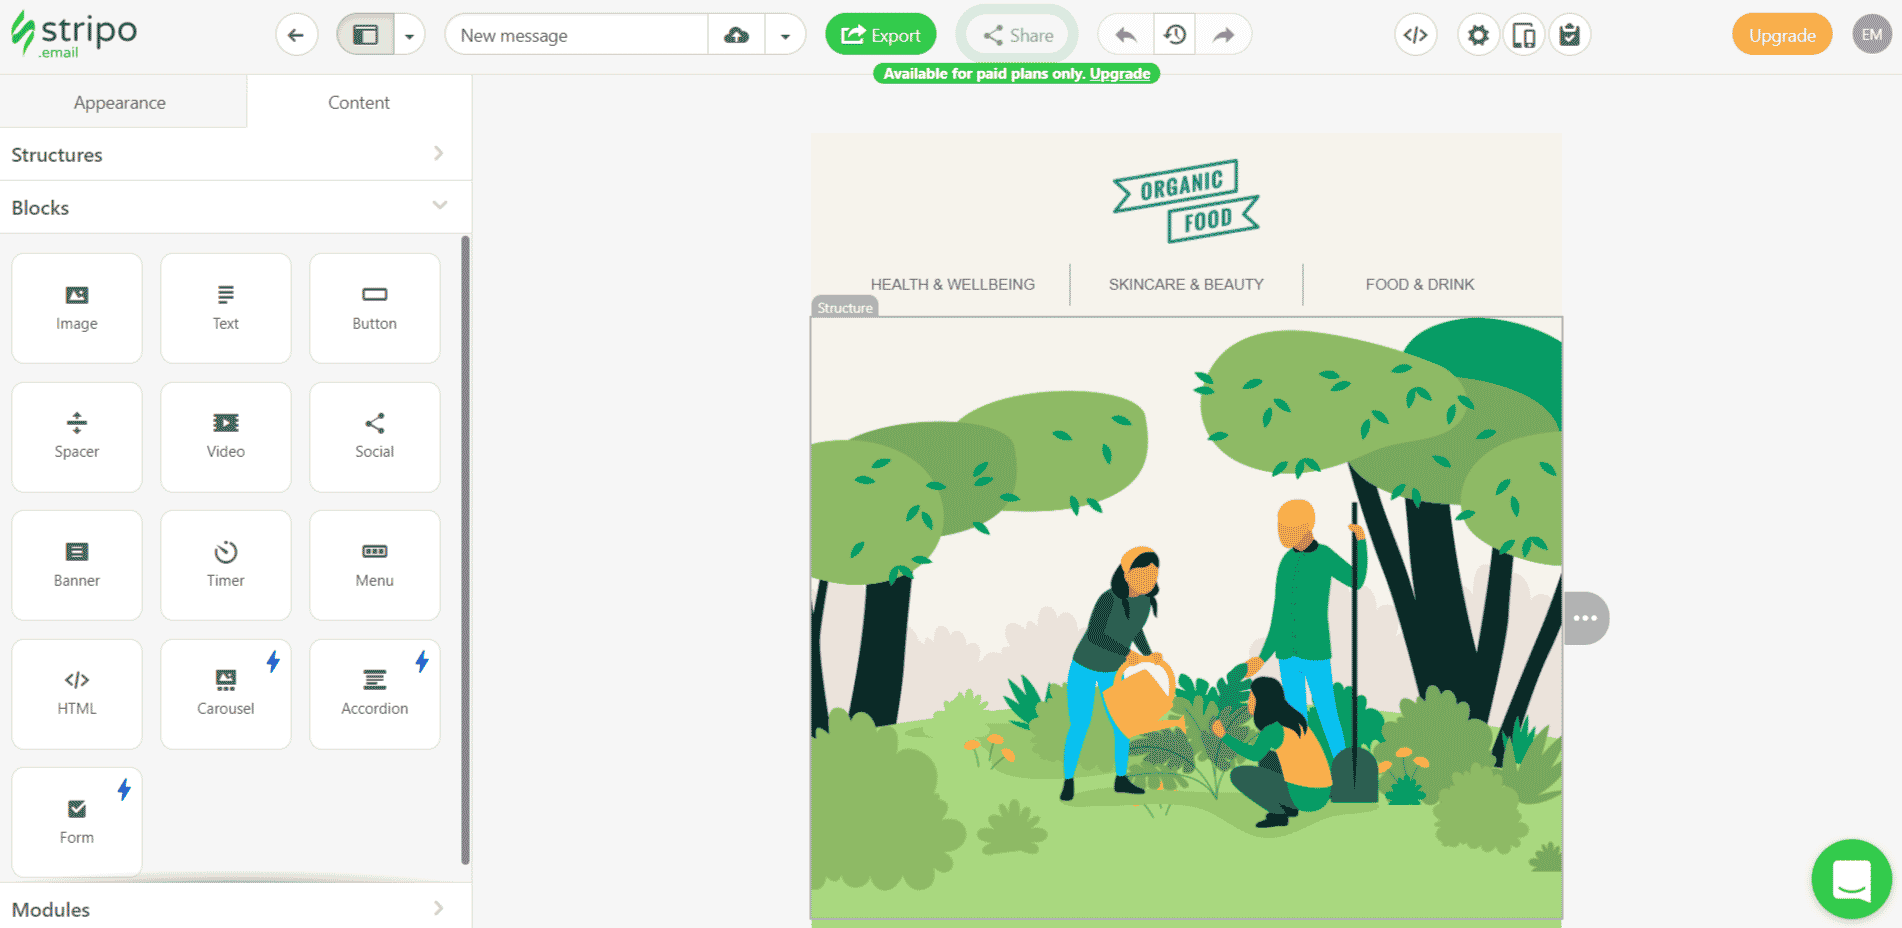
On the left side of the editor you can edit the structures in the email. This is where you can essentially create the skeleton or outline of your email template. In each box, you can add text, images, video, or any other element. For instance, if you select a structure with two boxes, one on each side, you can add a image on one side and a text box on another side.
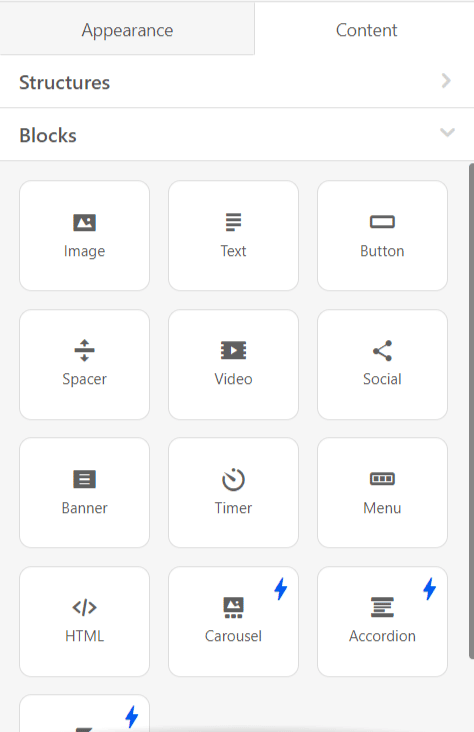
Under structures you can find the blocks. You can insert anything from text to buttons to spacers to social media icons. Additionally you can add HTML code blocks if you have custom HTML that you would like to add to the email. Keep in mind that some of these blocks only come witht he paid versions of Stripo.
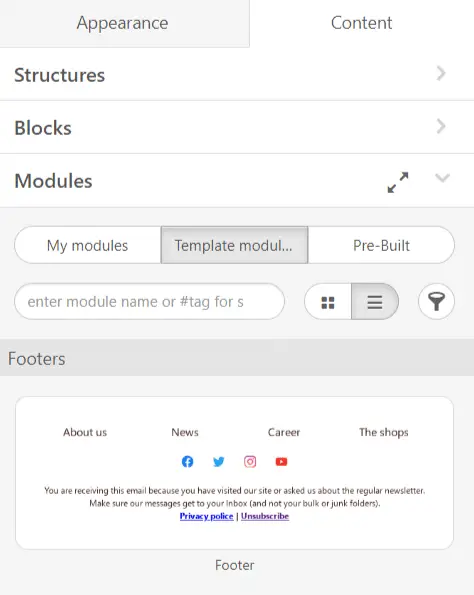
Below blocks you can find modules. Modules is where you can insert prebuilt sections of email templates. For instance, the one in the image above contains links to the company’s about us page, news page, careers page, shopping page, as well as a disclaimer and social icons. Rather than building all these elements out every time you create an email, it can be easy to simply insert a module like this directly into new emails.
As far as editing the email template itself, you can click on any of the blocks in the email and you will be prompted to make adjustments to them. For instance, the image below shows how it looks when you click on a text box for instance.
Feel free to customize the email as you wish. However, keep in mind that for already beautifully designed email templates like these, you may not necessarily need to do much design work yourself.
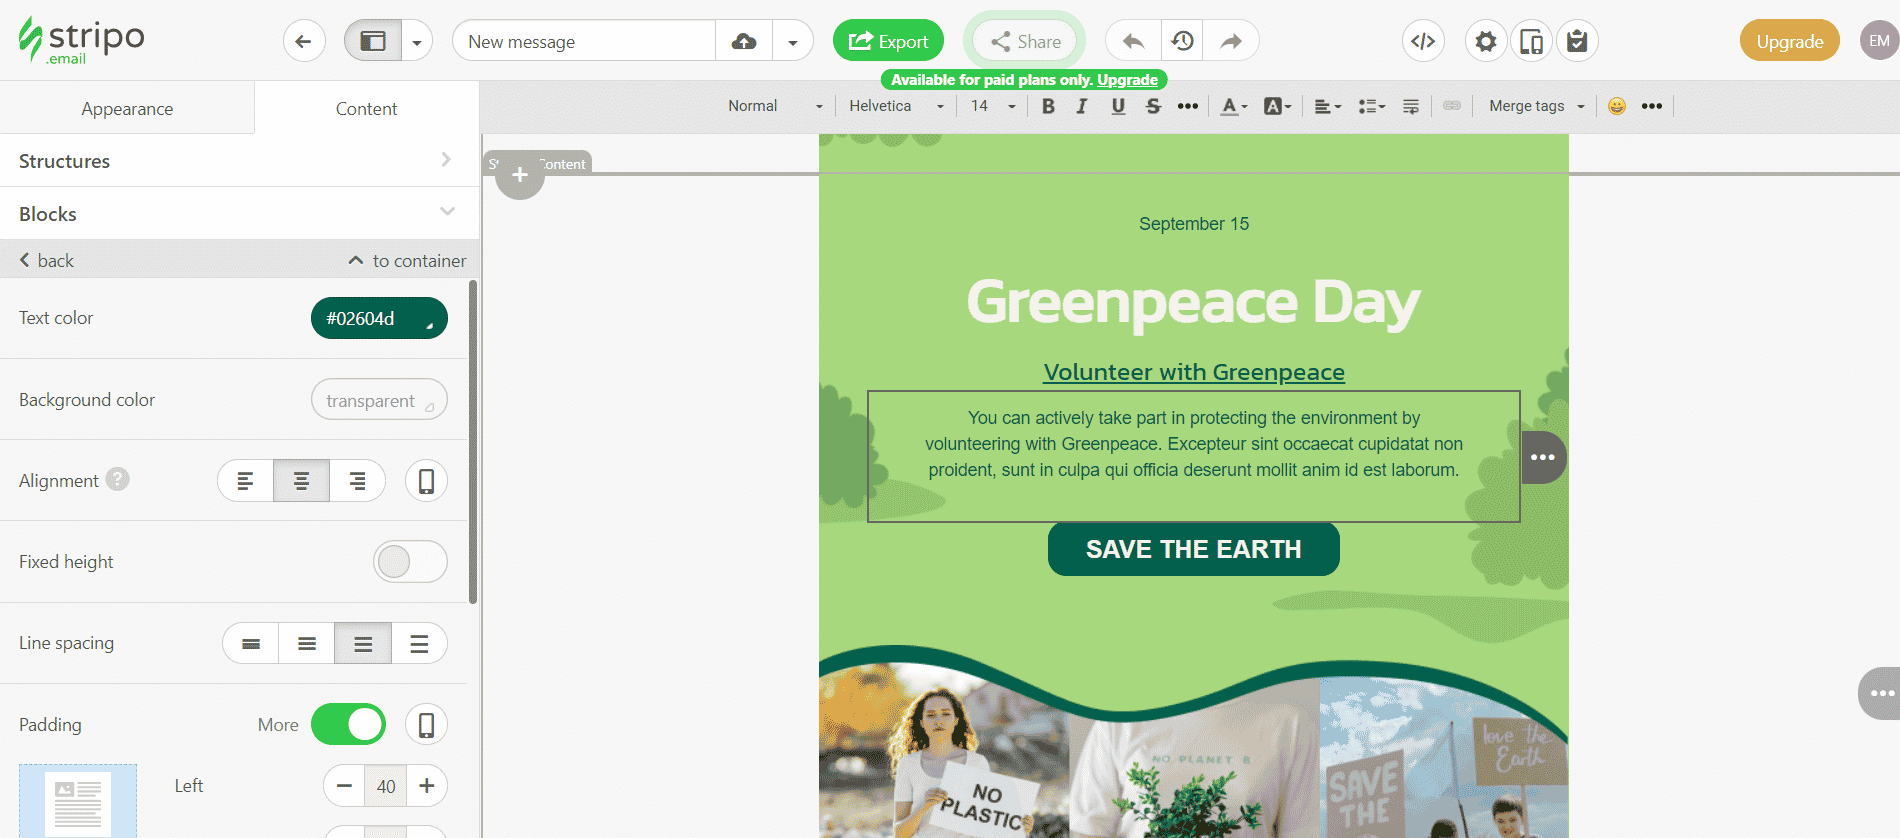
As you can see you are prompted to change text color, background color, alignment, padding, and of course the text iself. This same process follows for every block you click on the email:
- Header
- Footer
- Text
- Images
- CTA buttons
Export Your Email to Gmail
Once you are satisfied with your email’s design, you can go ahead and export the template to gmail:
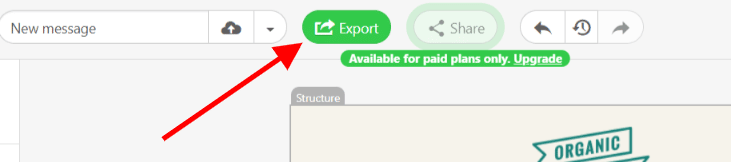
Click “Export”. From here you will be prompted to select an email marketing platform or email client like Gmail to export to. Of course, you will want to select Gmail.
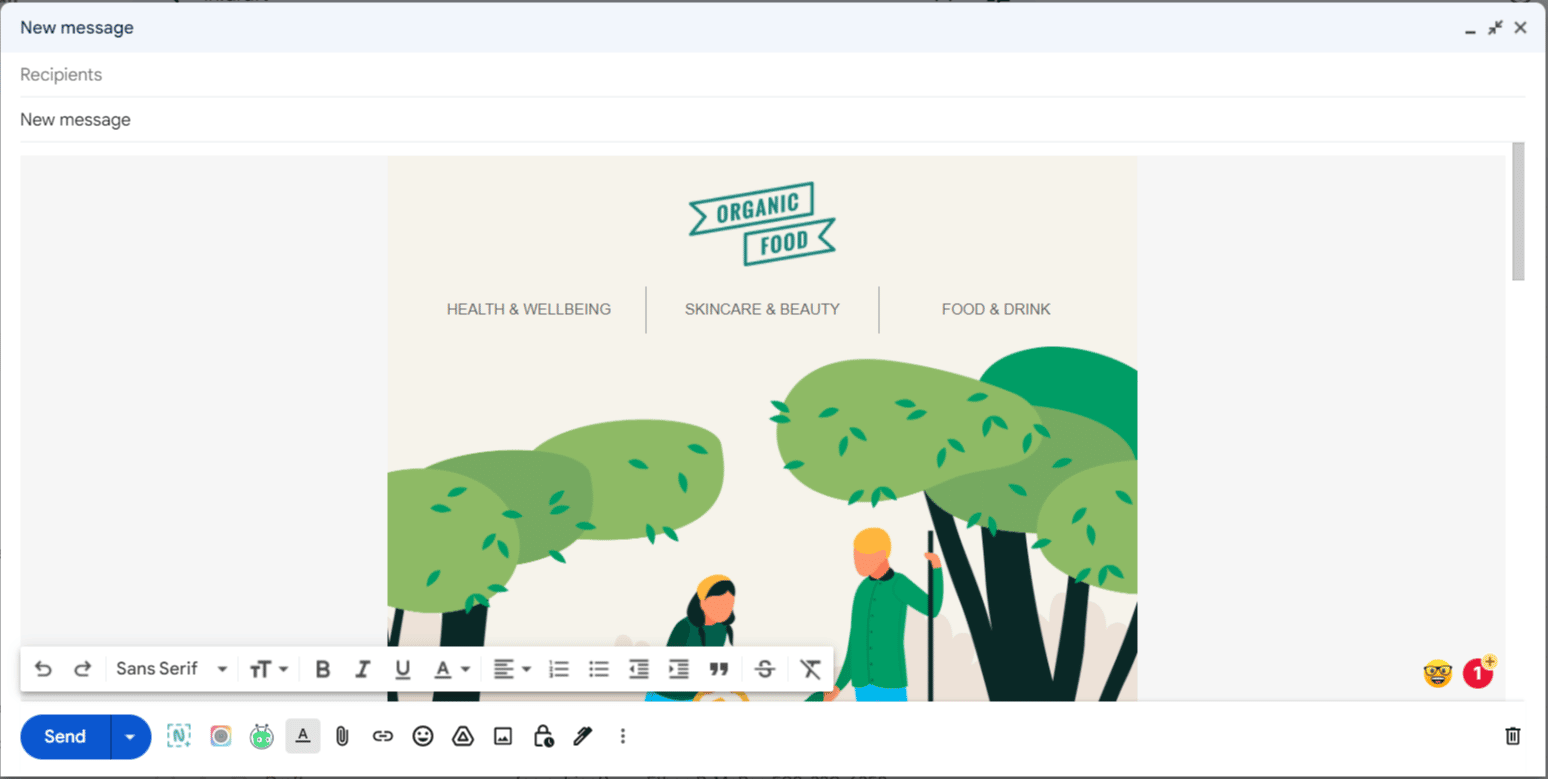
Once you sign in to your email account through Stripo, Stripo will then transfer your email as a draft in Gmail. Once you open up that email draft, you will be able to add the recipients you wnat to send the email to and the subject line.
Now you have a pretty email template that you can use over and over.
Final words
Although Stripo is an excellent solution for designing emails and importing them into Gmail, keep in mind that this is not the only way you can do so. There are numerous other solutions out there that you can utilize to add templates to gmail. For instance, you can even use Mailchimp to import email templates into gmail if you wish. The same goes for many other email marketing services.
The point is that designing pretty email templates for gmail is all about finding right tool with the design capabilities that fit your needs.
Related: Stripo Review: Is it the Best Email Design Tool?
Related: Stripo vs Mailchimp: An Inside Look